 Admin
Admin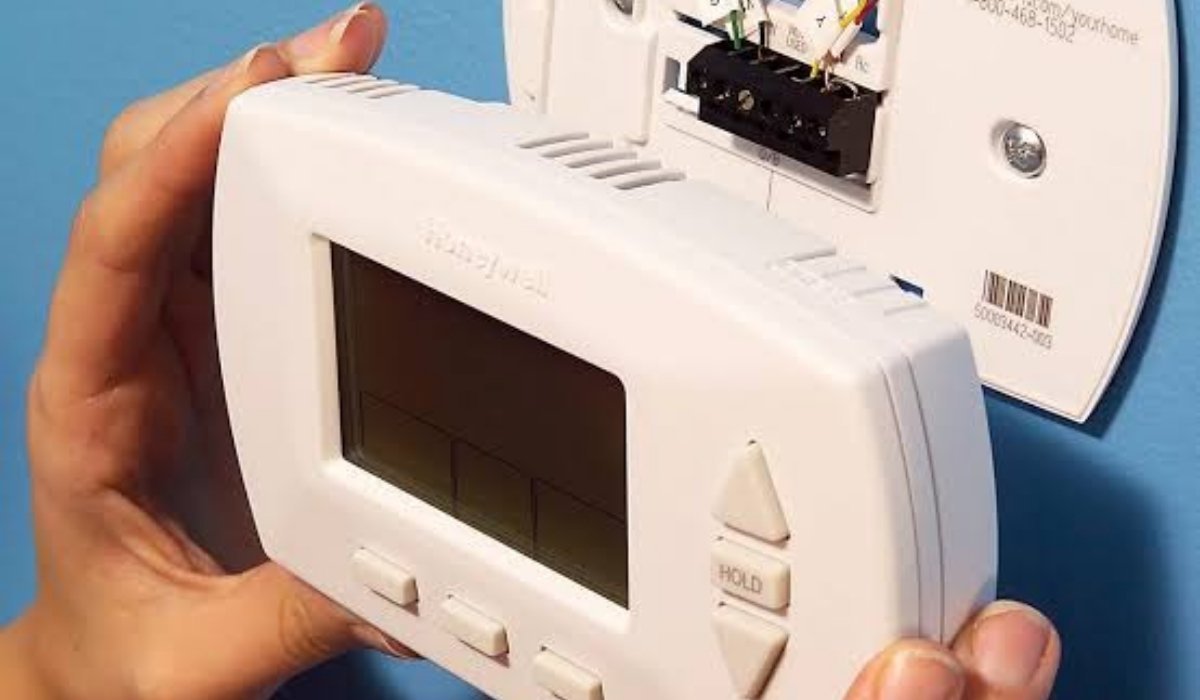
Achieving optimal home comfort requires a precise balance of temperature control, and the foundation of this comfort is a properly executed thermostat installation. Whether you are upgrading to a modern smart device or replacing an aging manual dial, the quality of your installation directly influences your HVAC system’s longevity, energy consumption, and overall performance. By understanding the intricate wiring requirements, power specifications, and environmental considerations necessary for the process, homeowners can significantly reduce utility bills and enhance indoor air quality. This guide provides the essential technical roadmap to ensure that your new unit is installed safely, calibrated accurately, and ready to maintain your ideal environment year-round.
| Feature | Details |
| Primary Task | Connecting temperature control devices to HVAC systems |
| Common Types | Manual, Programmable, and Wi-Fi Smart Thermostats |
| Key Requirements | C-wire (Common wire), voltage compatibility, and safety |
| Primary Benefit | Improved energy efficiency and climate precision |
| Recommended Timing | Before peak heating or cooling seasons |
Understanding Your HVAC System Compatibility
Before beginning any thermostat installation, you must confirm that your new device is compatible with your current heating and cooling equipment. Most modern homes utilize low-voltage systems (24V), but some older setups or high-capacity electric systems require line voltage (120V/240V). Installing a low-voltage device on a high-voltage system is dangerous and will cause permanent damage. Always turn off the power at the circuit breaker and use a multimeter to verify that no electricity is flowing through the wires. Proper verification of your system type is the absolute first step toward a safe and successful upgrade.
Tools Required for a Successful Project
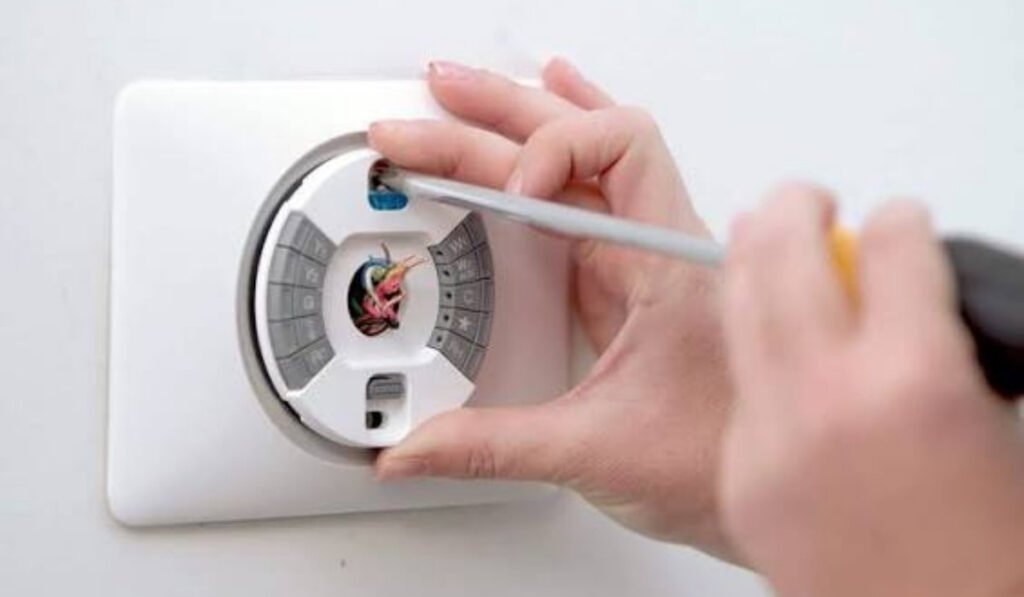
To perform a professional-grade thermostat installation, you need a basic set of tools: a screwdriver set, wire strippers, a drill, and a level. A multimeter is essential for testing the wires to ensure they are de-energized. Additionally, having needle-nose pliers and electrical tape can help manage and secure the small-gauge wires often found in HVAC wall plates. If you are upgrading to a wall-mounted smart unit, you might also need drywall anchors and a level to ensure the device is aesthetically pleasing and functional. Having these tools prepared beforehand will streamline the entire project significantly.
Safety First: Powering Down the Equipment
The most critical step in any thermostat installation is ensuring the power is cut to your HVAC unit. Locate your home’s electrical panel and switch off the circuit breaker that controls your furnace, air handler, or air conditioner. Simply turning the thermostat to “off” is insufficient because electricity still flows to the wall plate, creating a risk of short-circuiting the control board or causing personal injury. Once the power is off, check your existing thermostat display to confirm it is completely dark. Safety is paramount when working with electrical components, so never skip this verification step.
Identifying and Labeling Existing Wires
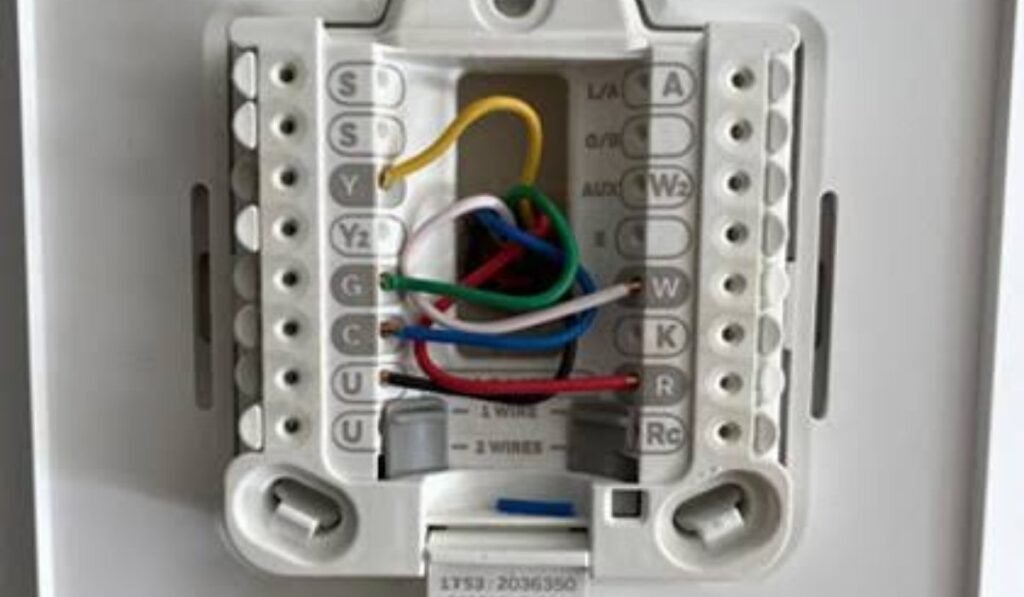
As you remove the old faceplate, you will see a bundle of colored wires connected to various terminals. Before disconnecting anything, take a clear, high-resolution photograph of the wiring configuration. Many manufacturers include sticker labels with their new products, which are perfect for marking each wire based on the terminal it was connected to (e.g., R, W, G, Y). Do not rely on color coding alone, as installation standards vary; always label based on the terminal letter. This simple act of organization prevents confusion when it is time to connect the new device and ensures a correct installation.
The Importance of the C-Wire
The “C-wire” or Common wire is the most frequently misunderstood component of a modern thermostat installation. This wire provides a constant 24V power flow required to run the electronics, Wi-Fi radios, and displays of modern smart thermostats. Older systems often lack this wire, as older manual units relied on batteries. If your existing bundle lacks a C-wire, you may need to install a power extender kit or run a new cable. Without a dedicated power source, your device may experience connectivity drops, battery drainage, or failures during high-load heating or cooling cycles, compromising your system’s overall reliability.
Mounting the New Backplate Securely
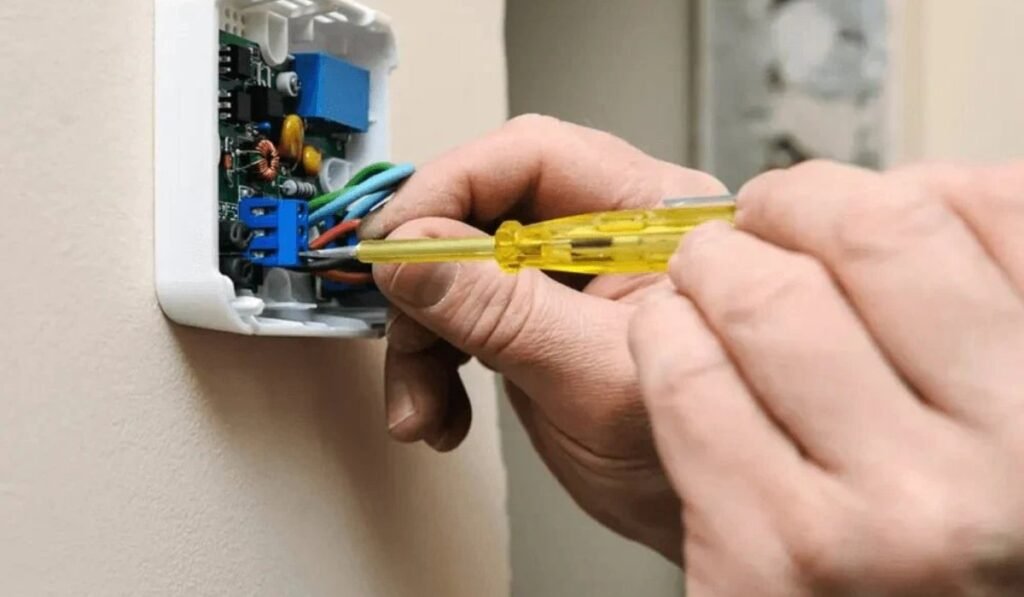
After verifying the wiring and the power supply, it is time to mount the new backplate. Use the provided screws and ensure the plate is level; a crooked device is more than just an aesthetic issue, as it can sometimes affect the calibration of mechanical sensors in older units. If you are using a new backplate that doesn’t match the old screw holes, use the drywall anchors provided in your kit to ensure a sturdy fit. Ensure that the wall hole is properly sealed or covered by the plate to prevent drafts from affecting the unit’s internal temperature sensors.
Connecting Wires to Correct Terminals
With the backplate secured, carefully thread the labeled wires through the center hole and connect them to the corresponding terminals on the new unit. Push each wire firmly into its push-terminal or tighten the small screw until the connection is solid but not overtightened. Ensure no stray strands of copper are touching adjacent terminals, as this will cause electrical shorts. Tug gently on each wire to ensure it is seated correctly. This careful attention to detail ensures that the signal from the device to the HVAC control board is clean and free of intermittent electrical interference.
Configuring System Settings for Efficiency
Once the hardware is physically mounted, the software configuration during your thermostat installation is vital. Most modern units require you to input the type of heating (gas, electric, oil) and the cooling system specifics. If your system is a heat pump, configuring the reversing valve logic is particularly important; getting this setting wrong will cause your system to blow cold air when you want heat. Take your time to walk through the initial setup menu on the device’s screen. Correct configuration is just as important as the physical wiring for maximizing your comfort and energy savings.
Testing the Heating and Cooling Cycles
After the initial setup, perform a full test of all functions. Set your device to “heat” and wait for the furnace to ignite; then, set it to “cool” and verify that the air conditioner compressor kicks on. Check that the fan operates correctly in both “auto” and “on” modes. If you hear unusual noises or if the system cycles on and off rapidly (short-cycling), shut it down immediately and recheck your wiring. A successful thermostat installation should yield a system that starts smoothly and runs consistently without any unusual error codes on the screen or control panel.
Troubleshooting Common Connection Issues
If your system fails to turn on after your thermostat installation, don’t panic. Thermostat Installation First, check if the faceplate is snapped completely onto the base, as some units have a safety switch that disconnects power if the cover is loose. Second, check your wire connections to ensure no wires slipped out during the mounting process. Finally, verify that the furnace door switch is fully engaged, as many systems will not run if the panel is slightly ajar. These minor physical checks resolve the vast majority of “failed” installations, saving you from needing a professional service call for simple issues.
Maximizing Energy Savings Through Programming
The true value of a professional thermostat installation lies in the programming. Thermostat Installation If you are using a programmable model, set a schedule that aligns with your daily routine. Lowering the temperature by a few degrees while you sleep or when you are at work can reduce heating costs significantly. Many smart models even offer “geofencing,” which uses your phone’s location to adjust the temperature automatically when you leave the house. By refining your schedule, you ensure that you are not spending money to heat or cool an empty home, dramatically increasing your long-term return on investment.
Integrating Smart Home Ecosystems
Modern smart units installed during a thermostat installation can often integrate with voice assistants or home automation hubs. Connecting your device to Wi-Fi allows for remote monitoring, so you can change the Thermostat Installation temperature from your office or vacation home. Integration with voice control means you can adjust your comfort without leaving the couch. When setting up these features, ensure your Wi-Fi signal is strong at the thermostat’s location; if it is weak, consider a Wi-Fi range extender. These features turn a simple temperature controller into a robust, integrated component of your modern, automated, and highly convenient household.
Dealing with Older Wiring Constraints
If you find that your wall bundle is decades old, it might be frayed or brittle. During your thermostat installation, it is wise to trim back the insulation to expose fresh, clean copper. If the wire is too damaged, you may need to pull a new bundle through the wall. While this adds complexity, using old, compromised wiring is a recipe for intermittent failures. Investing the time to ensure the wiring integrity is perfect from the start will prevent frustration in the future and ensure that your system runs reliably for many years of heavy seasonal use.
Seasonal Maintenance Tips for Your Device
Regular maintenance after your thermostat installation is minimal but effective. Thermostat Installation Every season, check the device for dust buildup, which can insulate the internal sensor and cause inaccurate temperature readings. If your model uses batteries, change them annually, even if it is hardwired, as they act as a vital backup during power outages. Keeping the area around the unit clean ensures the sensor can “feel” the true ambient temperature of the room. By treating the device with the same care as your HVAC filters, you ensure consistent performance and longevity for the entire climate control system.
Importance of Proper Wall Placement
The placement of your unit is just as important as the thermostat installation itself. It should be Thermostat Installation located away from direct sunlight, drafts from doors, heat sources like lamps, and kitchen heat. A unit placed in a poor location will constantly misread the temperature, leading to short-cycling or long, uncomfortable wait times. If you are mounting a new unit, choose an interior wall in a central room where the family spends the most time. Proper placement ensures that the ambient air reaches the sensor accurately, leading to more stable, comfortable, and efficient temperature control for everyone.
Understanding Humidity Control
Many advanced units installed during a modern thermostat installation offer humidity monitoring or control features. If you live in a humid climate, managing humidity is just as important as temperature for comfort. Some systems can slow the fan speed or run the air conditioner longer to dehumidify the air without over-cooling the room. Check your manual to see if your new model supports these features. Properly managed humidity prevents mold growth and helps you feel cooler at higher temperatures, significantly increasing your overall home comfort while reducing the heavy cooling load on your HVAC system.
The Role of Firmware Updates
Smart devices are essentially small computers, and after your thermostat installation, they require software maintenance. Enable automatic firmware updates during the setup process to ensure you have the latest features, security patches, and energy-saving algorithms. These updates often improve connectivity, battery life, and even compatibility with new smart home standards. Ignoring these updates can lead to security vulnerabilities or bugs that affect temperature accuracy. Staying current is one of the easiest ways to keep your home’s central nervous system running smoothly, efficiently, and safely for as long as you own the home.
Benefits of Professional vs. DIY Installation
While many homeowners can manage a basic thermostat installation, professional assistance is highly recommended for complex systems like multi-stage heating, heat pumps, or commercial equipment. Professionals have the specialized training to identify hidden wiring faults and the tools to configure complex systems that a manual might not clearly explain. If you are unsure about your home’s electrical layout, hiring a professional provides peace of mind that the work is done safely and correctly the first time. The cost of a professional visit is often much lower than the price of repairing a damaged furnace control board.
Ensuring Proper Sensor Calibration
Sometimes, you might notice that the device reading doesn’t match the actual temperature you feel in the room. This is where calibration comes in. Many units allow you to manually offset the temperature reading in the settings menu. If you have a separate thermometer you trust, compare the readings after the system has been running for a while. If there is a consistent discrepancy, applying an offset is a simple way to improve the accuracy of your thermostat installation, ensuring that your home feels exactly as warm or cool as you have set the display to show.
Future-Proofing Your Home Infrastructure
As the technology behind climate control evolves, the hardware you choose today should support your long-term needs. Whether it is adding zone control, integrating more smart sensors in distant rooms, or connecting to solar energy systems, a well-planned thermostat installation today sets the stage for a more intelligent home tomorrow. Choose a device that is compatible with current and emerging standards. By taking a thoughtful approach, you turn an ordinary maintenance task into an investment in home value, comfort, and sustainable energy usage.
FAQs
- What should I check before starting a thermostat installation?
- Always verify HVAC system compatibility and turn off the power at the circuit breaker to prevent electrical damage.
- Is the C-wire necessary for all units?
- It is essential for most smart devices to provide consistent power, though some workarounds exist for systems lacking this wire.
- Why is it important to label wires before disconnecting the old unit?
- Labeling prevents confusion during reconnection and ensures that each wire goes to the correct terminal on the new device.
- Can I place my device anywhere in the room?
- No, it should be placed on an interior, central wall away from heat sources, direct sunlight, or drafts for accurate sensing.
- What should I do if the system doesn’t start after installation?
- Check the faceplate connection, verify the furnace door switch is closed, and reconfirm that all wires are securely seated in their terminals.