The Nintendo Switch Pro Controller stands as one of the best wireless gamepads available, offering comfort, precision, and features that elevate your gaming sessions far beyond what the standard Joy-Cons deliver. Yet despite its premium build and advanced capabilities, a surprising number of owners barely scratch the surface of what this controller can do. Maybe you’ve struggled with mysterious disconnections mid-game, wondered why your HD Rumble feels underwhelming, or never realized you could remap buttons to suit your exact playstyle. Perhaps your controller’s battery drains faster than expected, or you’ve noticed slight stick drift creeping in after months of use.
These frustrations are common, but they’re also entirely solvable. This comprehensive guide walks you through everything from flawless initial setup and advanced feature mastery to deep customization options and long-term maintenance strategies. Whether you’re a competitive player seeking every edge or a casual gamer wanting a smoother experience, you’ll discover practical techniques to transform your Pro Controller into a fully optimized, personalized gaming tool that performs reliably session after session.
1. Master Your Controller: Initial Setup and Connection Mastery
Getting your Pro Controller properly set up from the start prevents the connectivity headaches that plague many users down the road. A rushed initial pairing or improper charging routine can lead to intermittent disconnections, delayed inputs, and frustrating re-sync loops that interrupt gameplay at the worst moments. Taking five minutes to follow the correct setup procedure establishes a rock-solid wireless foundation whether you’re playing on your TV in docked mode or using tabletop mode with friends. The steps below ensure your controller communicates flawlessly with your console from day one and remains reliably connected across different play scenarios.
Unboxing and First-Time Pairing
Before anything else, connect your Pro Controller to the Switch dock using the included USB-C cable and let it charge for at least thirty minutes—this ensures stable firmware communication during initial pairing. Once charged, power on your Switch and navigate to the Home screen. Select “Controllers,” then “Change Grip/Order.” Now press and hold the small sync button on top of the Pro Controller (next to the USB-C port) until the indicator lights begin cycling. The controller will appear on screen within seconds, and you simply press A or L+R to confirm registration. Your wireless connection is now established.
Managing Connections and Troubleshooting Pairing
Your Pro Controller can remember multiple Switch consoles, but it actively connects to only one at a time. To pair with a different console, simply repeat the sync button process on the new system—the controller will prioritize the most recent pairing. If you want to switch back, you’ll need to re-sync again or briefly connect via USB cable, which instantly re-establishes the bond without entering the grip menu. When pairing fails, first ensure no other controllers are actively searching simultaneously, as this creates interference. Try moving within three feet of the console and removing any USB devices from the dock that might cause wireless disruption. If problems persist, navigate to System Settings, then Controllers and Sensors, and select “Disconnect Controllers” to clear all pairings and start fresh. A hard reset—holding the sync button for fifteen seconds—resolves most stubborn connection refusals.
2. Unlocking Advanced Features of Your Wireless Gamepad
The Pro Controller packs sophisticated technology beneath its comfortable shell that most owners never fully explore. Beyond basic button inputs, this gamepad delivers layered haptic feedback, precise motion sensing, and built-in scanning capabilities that fundamentally change how you interact with your games. Understanding and configuring these features properly means the difference between a generic controller experience and one that pulls you deeper into every world you explore. Many of these capabilities require specific activation or calibration to perform at their best, and certain games unlock entirely new gameplay dimensions when you engage them correctly. The following breakdown helps you tap into each advanced function so nothing goes to waste.
Harnessing HD Rumble and Vibration Function
HD Rumble goes far beyond simple vibration—it uses linear resonant actuators to simulate distinct tactile sensations, from the feeling of ice cubes clinking in a glass to the subtle tension of drawing a bowstring. Games like Super Mario Odyssey, 1-2-Switch, and Golf Story showcase this technology brilliantly, delivering feedback that conveys in-game physics through your palms. To adjust intensity, head to System Settings, then Controllers and Sensors, where you’ll find the vibration toggle and can confirm it’s enabled. Some games offer their own in-menu vibration sliders for finer control. If immersion matters most, keep vibration at full strength. If you’re chasing longer battery life during marathon sessions, reducing or disabling it can add meaningful playtime between charges.
Motion Controls and Gyro Aiming Techniques
Gyro aiming transforms the Pro Controller into a precision instrument for shooters and action games. In Splatoon 3, enabling motion controls lets you make micro-adjustments by tilting the controller slightly—far faster and more accurate than stick aiming alone for tracking moving targets. Breath of the Wild and Tears of the Kingdom use gyro for shrine puzzles and bow aiming. To calibrate, go to System Settings, Controllers and Sensors, then “Calibrate Motion Controls” and place the controller on a flat surface during the process. Start with high stick sensitivity for broad movements and rely on gyro for fine-tuning. The learning curve takes a few sessions, but competitive players consistently report faster target acquisition once the muscle memory clicks.
Mastering the Capture Button and NFC Reader
The dedicated capture button on the left side of the controller takes screenshots with a quick press and records the last thirty seconds of gameplay when held down—perfect for saving clutch moments without interrupting your flow. To scan Amiibo figures, simply touch them to the NFC reader embedded in the center of the controller near the Nintendo Switch logo on the top face. The system prompts you when a compatible game supports Amiibo functionality, unlocking bonus items, costumes, or companion characters depending on the title.
3. Customization and Performance Optimization
Every gamer holds their controller differently, reacts at different speeds, and prioritizes different actions depending on the genre they’re playing. The Pro Controller’s real power emerges when you stop using default settings and start molding the experience around your specific needs. Nintendo built meaningful customization tools directly into the Switch operating system, allowing you to remap every button, fine-tune stick responsiveness, and manage power consumption without any third-party software or hardware modifications. These adjustments take minutes to configure but deliver lasting improvements to comfort, reaction time, and overall session quality. Whether you need jump mapped to a shoulder button for platformers, tighter stick response for competitive shooters, or simply want your controller lasting through an entire weekend trip without a charger, the options exist—you just need to activate them.
Button Remapping via System Settings
Navigate to System Settings, then Controllers and Sensors, and select “Change Button Mapping” to access Nintendo’s built-in remapping tool. Here you can reassign any button to any other input—swap A and B if you prefer a different confirmation layout, move jump to a shoulder button for smoother platforming, or assign frequently used actions to more accessible positions. The system lets you save up to five custom presets, making it easy to maintain separate configurations for different genres. Create one layout optimized for action games with dodge on a trigger, another for RPGs with menu shortcuts prioritized, and switch between them in seconds from the Controllers menu. Each preset applies system-wide, so your custom mapping works across every compatible title without per-game configuration.
Adjusting Stick and Trigger Sensitivity
If your aiming feels sluggish or your character movements seem imprecise, stick calibration is your first stop. Go to System Settings, Controllers and Sensors, then “Calibrate Control Sticks.” Follow the on-screen prompts to establish accurate center points and full range of motion for each stick. This process corrects any minor drift that develops over time and ensures your inputs register exactly where you intend. While the Pro Controller uses digital triggers rather than fully analog ones, many games offer in-menu sensitivity sliders for aim speed and dead zones. Experiment with reducing dead zones for snappier response in shooters, or increase them slightly if you notice unintended inputs during calm exploration sequences.
Battery Life Maximization and Charging Tips
The Pro Controller’s impressive battery life stretches even further with a few smart habits. Disabling or reducing HD Rumble intensity in system settings removes one of the biggest power draws during extended sessions. Dimming the Home button LED through controller settings also conserves energy. For charging, plug in using the included USB-C cable when the battery indicator shows one bar remaining rather than waiting for complete depletion—this practice preserves long-term battery health. Avoid leaving the controller plugged in for days after reaching full charge, and if you notice significantly shorter session times after a year of heavy use, battery degradation has likely begun.
4. Pro-Level Tips, Care, and Troubleshooting
Even the best-built controller encounters issues over time, and knowing how to diagnose and resolve common problems saves you from unnecessary frustration or premature replacement. The Pro Controller is remarkably durable, but regular use inevitably introduces wear on analog sticks, accumulates grime around buttons, and occasionally produces wireless quirks that disrupt your sessions. Treating your controller with proactive care rather than reactive fixes extends its lifespan dramatically and keeps performance feeling factory-fresh for years. The following guidance addresses the most frequent complaints Pro Controller owners face, provides safe maintenance routines you can perform at home, and helps you recognize when a problem has escalated beyond what simple troubleshooting can resolve.
Solving Common Issues: Drift, Lag, and Disconnects
Stick drift—where your character moves or the camera pans without touching the analog stick—often responds to recalibration through System Settings, Controllers and Sensors, then “Calibrate Control Sticks.” If calibration alone doesn’t fix it, apply a small amount of electronic contact cleaner beneath the stick base, rotating the stick fully while the solution works into the mechanism. For input lag, eliminate wireless interference by moving routers, USB 3.0 hard drives, and other 2.4GHz devices away from your console. Switching to a wired connection via USB-C in System Settings under “Pro Controller Wired Communication” bypasses wireless entirely for lag-free competitive play. Random disconnections typically stem from low battery, excessive distance from the console, or physical obstructions. Keep within fifteen feet with clear line of sight, and perform a hard reset by holding the sync button for fifteen seconds if disconnections persist after charging fully.
Cleaning and Maintaining Your Controller
Wipe the exterior weekly with a slightly damp microfiber cloth to remove oils and sweat that degrade grip texture over time. For grime trapped around button edges and analog stick bases, use a dry soft-bristled toothbrush to dislodge debris, then follow with compressed air in short bursts to clear particles from crevices. Never spray liquid directly onto the controller or submerge any component. Store the controller in a cool, dry location away from direct sunlight to prevent plastic warping and rubber degradation on the stick caps.
When to Consider Professional Repair or Replacement
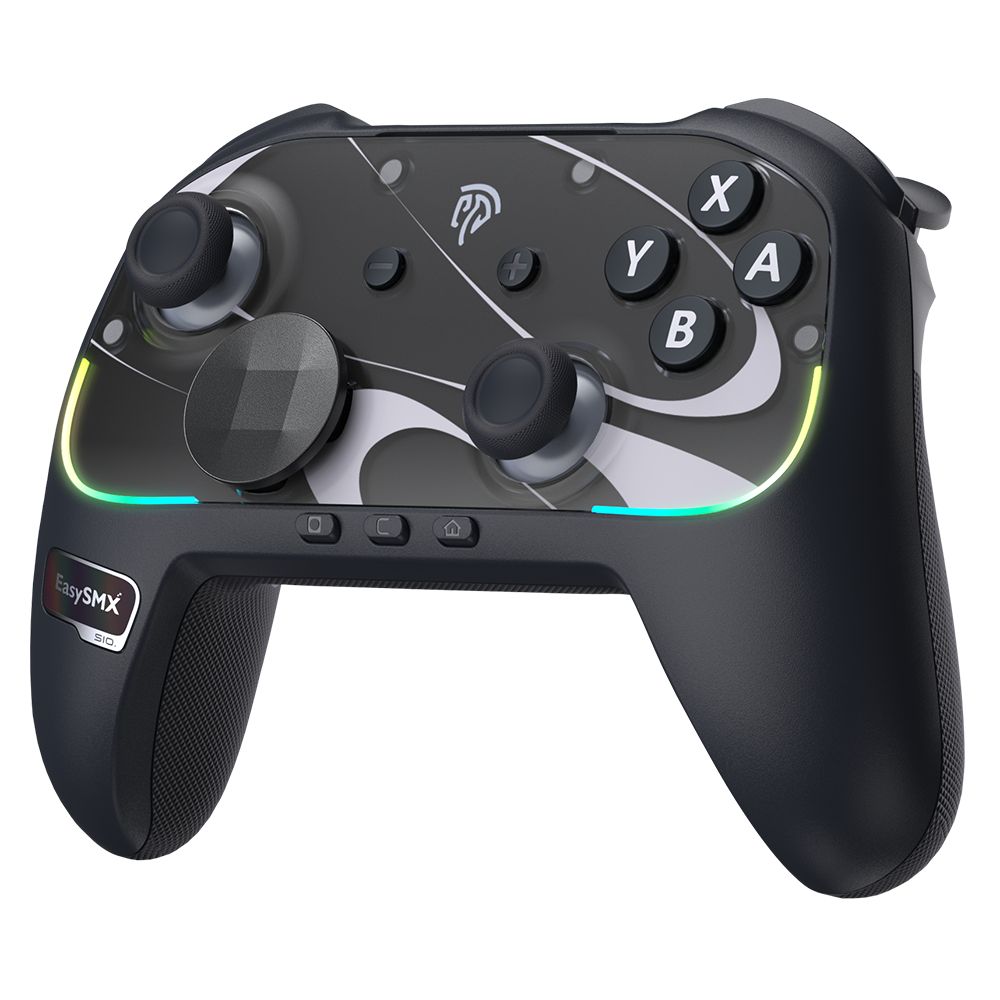
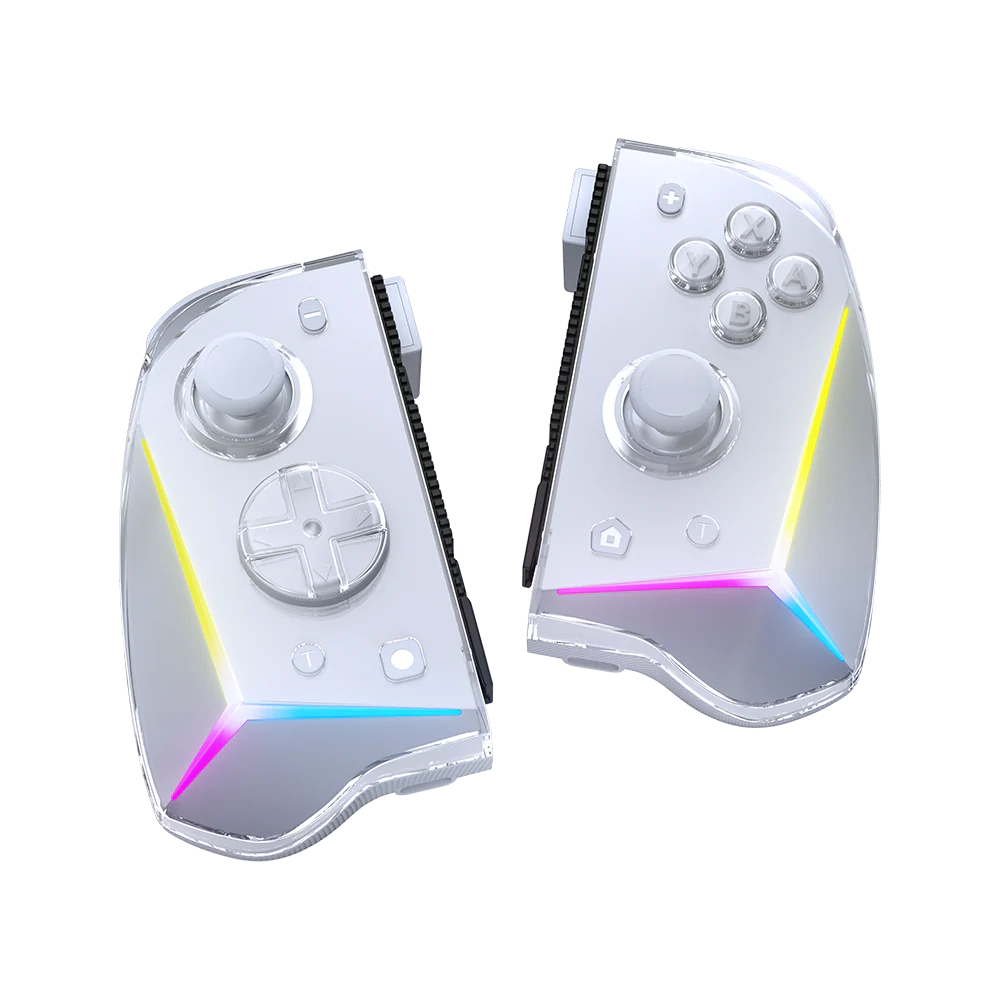
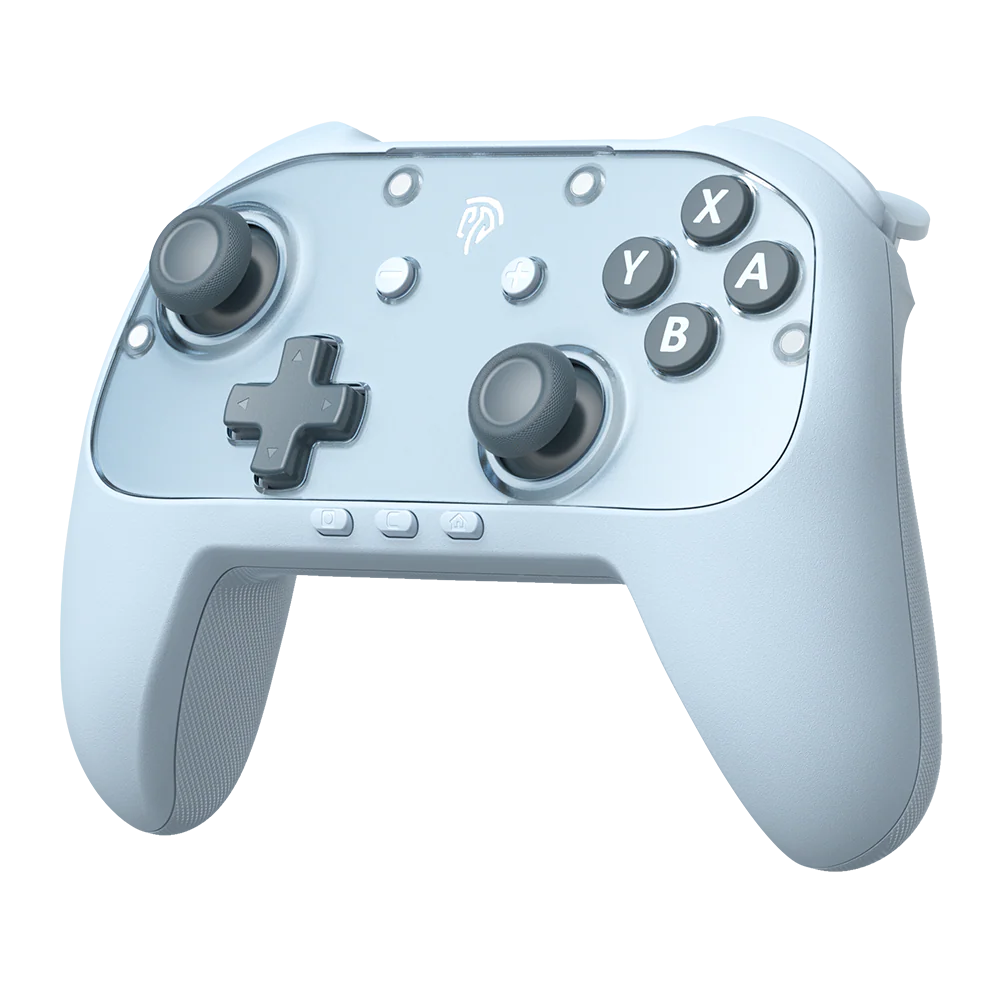
If stick drift persists after cleaning and recalibration, internal potentiometer wear is likely the cause and requires soldering skills to replace. Controllers still under Nintendo’s warranty qualify for free repair through their support portal. When repair costs approach half the price of a new unit, replacement becomes the more practical choice. If you’re looking for a reliable alternative or backup controller, brands like EasySMX offer Switch-compatible wireless gamepads with similar ergonomic designs and features like programmable buttons and motion controls at a more accessible price point.
Transform Your Pro Controller Into the Ultimate Gaming Tool
Your Nintendo Switch Pro Controller is far more capable than most owners ever realize, and the difference between a default experience and an optimized one comes down to intentional setup and informed use. By establishing a proper wireless connection from the start, you eliminate the random disconnections and pairing frustrations that derail so many gaming sessions. Exploring advanced features like HD Rumble’s nuanced haptic feedback, gyro aiming’s precision advantage, and the built-in NFC reader means you’re finally experiencing games the way developers intended them to be felt and played.
Customization takes things further still—remapping buttons to match your natural instincts, calibrating sticks for pixel-perfect accuracy, and managing battery life so your controller outlasts even your longest sessions. And when wear inevitably appears after months of dedicated use, the cleaning routines and troubleshooting techniques covered here keep performance sharp without expensive repairs or premature replacements. Apply these strategies consistently, and your Pro Controller transforms from a simple wireless gamepad into a finely tuned extension of your gaming instincts—responsive, reliable, and perfectly suited to how you play.