If your backyard has a paver patio, you already know it’s the ultimate backdrop for outdoor fun, with morning coffee, weekend brunches, or sizzling summer cookouts. However, behind the whole of that charm, there is a secret to it: pavers need protection to stay looking their best. Now, how would it be possible? No need to worry, because with paver sealing, that beautiful look can be preserved, notes KRS Holdings.
Before you type “paver sealing near me” and wonder whether it’s really required, let’s discuss why sealing is essential and what to look for.
Why Paver Sealing Matters?
Okay, now imagine your pavers as if they were your favorite shoes. You wouldn’t trek through mud or rain without giving them some kind of protection, right? Paver sealing is exactly like applying that waterproof layer that keeps your shoes. It makes your patio safe from stains, fading, and damage.
The truth is, without sealant, dirt, oil, and water creep down into the pores, and after some time, colors fade away cracks occur. Upsetting, of course. However, when sealed, your patio resists stains, sheds water easily, and even keeps those pesky weeds from making a home in the cracks. Oh, and cleanup? Much, much easier.
Understanding Different Types of Paver Sealing
Not all paver patio sealings are the same, and the right choice depends on what you want:
- Penetrating sealers soak into the stone and keep the natural look without gloss. If you want things subtle and matte, these are your friends.
- Film-forming sealers create a protective layer on top and usually add a shiny, “wet” look that makes the colors pop.
- Water-based sealers tend to have less smell and dry quickly. Good if you are concerned about low odor and eco-friendliness.
- Solvent-based sealers give strong protection and deeper color, but they have strong smells when applied.
Think about how you want your patio to look and how much it gets used.
Signs Your Pavers Need Sealing
If any of these sound familiar, it’s probably time to give your pavers some protection with a quality sealer.
- The colors no longer stand out; they are lifeless or grimy.
- Rain does not roll but soaks in like a sponge.
- Weeds or moss crash your patio party.
- Stains stick around no matter what you do.
- Pavers wiggle or shift when you walk on them.
If you nodded to one or two of these, your patio’s waving a “seal me” flag.
How to Find the Right Paver Sealing Service
Understandably, out of the various companies available, picking one can be confusing. Here’s what to look for:
- Read reviews (extra credit when they post before and after photos).
- Hire someone who has local knowledge about your climate’s quirks.
- Transparent pricing and clear explanations so no surprise charges later.
- A willingness to prepare thoroughly, not just stick sealer and run.
Trust that a professional team will do an excellent job, leaving you fully satisfied.
DIY vs. Professional Paver Sealing
Maybe you love a good weekend project, but sealing is not a task you can do carelessly or only partially; it requires proper effort and attention:
| Factor | DIY Paver Sealing | Professional Paver Sealing |
| Effort Level | A real weekend workout, you’ll scrub, sand, seal, and wait. | Sit back and relax, the pros handle every step for you. |
| Tools You’ll Need | Power washer, fresh joint sand, sealer, sprayer or roller, and protective gear. | No shopping list needed, they bring commercial-grade tools and products. |
| Skill Required | You’ll need a steady hand and some patience. One mistake can mean patchy results. | Trained experts ensure smooth, even coverage and lasting results. |
| Drying Time | Around 1–2 days, and yes, no walking on it! | Same curing time, but managed perfectly to avoid any issues. |
| Cost Factor | Cheaper upfront, but redoing mistakes can get pricey fast. | Costs more at first, but it gives you pro-quality results that last longer. |
| Best For | Smaller patios or homeowners who love a good DIY challenge. | Larger patios, busy homeowners, or anyone who wants a flawless finish. |
If you’re not into that level of commitment or your patio’s a beast, hiring a professional might be your best bet.
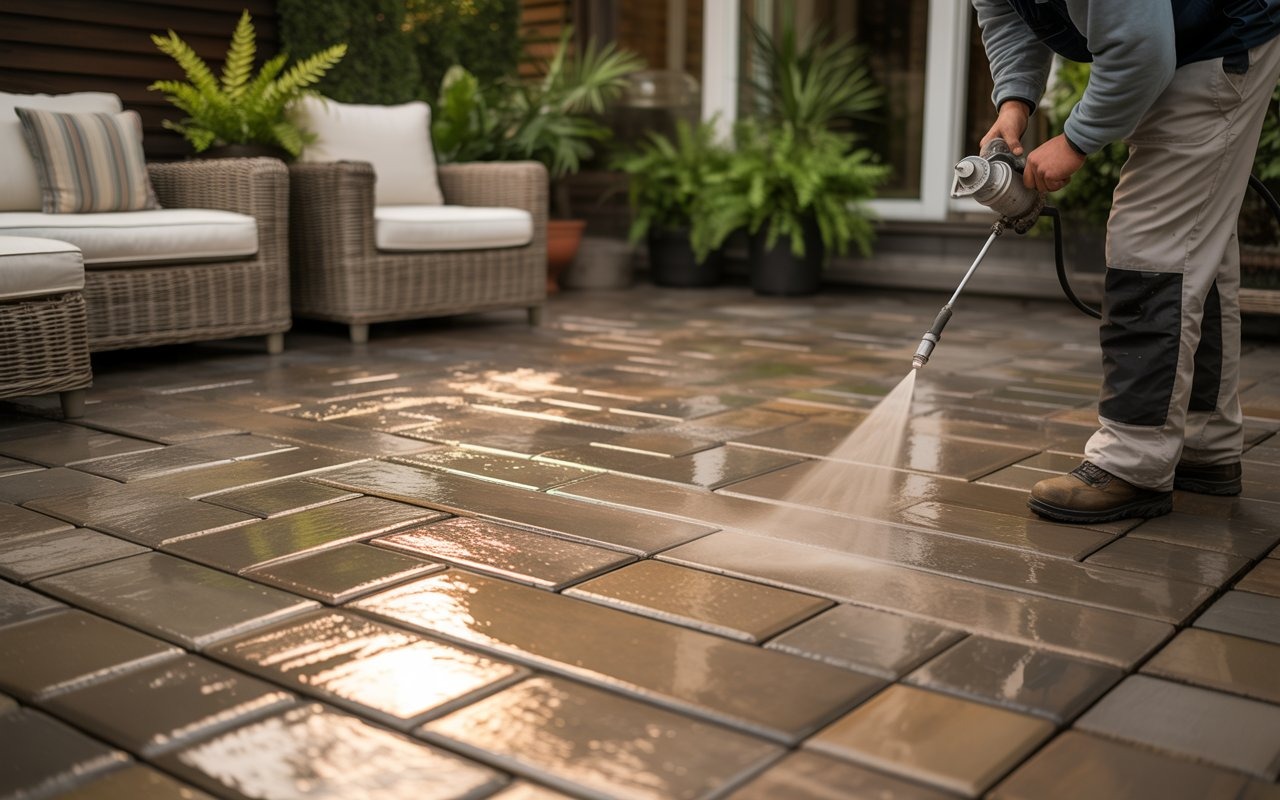
Step-by-Step Paver Sealing Process (Overview)
If you want to tackle this yourself, here are the key steps to follow for the best paver sealing results:
- Power wash until everything’s spotless.
- Refill those joints.
- Dry-dry-dry the surface before sealing.
- Apply the sealer evenly with a sprayer or roller.
- Patience, young grasshopper, to let it cure.
Skipping steps here usually means redoing later. Don’t forget this.
Don’t Do These When Sealing
Don’t seal when the surface is wet.
Apply thin coats, not thick globs.
Make sure the pavers are clean before sealing.
Avoid cheap sealers that wear out quickly.
Maintenance Tips for Sealed Pavers
Here are a few useful tips:
- Sweep daily or as often as you think of it.
- Rinse with mild soap every now and then.
- Reseal every 2–3 years, or sooner if it gets a lot of action.
- Clean spills ASAP; stains hate the spotlight.
It not only looks great, but it reduces the time spent on cleaning and repair, increases the life of the pavement, and provides a slight increase in the “wow” factor to your home. And who doesn’t want that?
Bottom Line
If you want your patio to keep impressing over the years, don’t skip sealing. Whether you DIY (with muscle and patience) or hire trusted local pros after a “paver sealing near me” search, it’s a small step with big returns. Your outdoor haven will thank you.
Read More Gorod