Watching videos on PC can be both entertaining and educational, but at times, it can also become a distressful experience. Whether your video quality is poor or you’re dealing with grainy and noisy visuals, these issues can destroy your viewing experience and may spoil your mood. Fortunately, there are several video repair methods available that you can try to fix the graininess in your video.
In this article, we’ll discuss common causes and how to repair grainy videos on PC. With the right approach, you can easily eliminate grainy videos and make your time watching on PC much more enjoyable.
Understanding Common Causes of Grainy Videos on PC
Before implementing appropriate video repair workarounds to fix grainy videos on your PC, try to understand the root causes of the issue. Some main reasons why your video files appear grainy include:
Low Video Resolution and Quality
Low-resolution videos (like 240p or 360p) or heavily compressed videos lack detail, making them appear grainy on most screens. The lower the resolution of your video is, the fewer the pixels it contains, which makes your video appear grainy or blocky when played on larger screens or full-screen mode.
Poor Lightning
Videos shot in low light often appear grainy due to increased ISO, which adds digital noise to the footage. To compensate, the camera adds artificial “gain,” which often introduces digital noise, making the footage look grainy.
Video Player or Software Issues
If your video player doesn’t support proper decoding or hardware acceleration, it can cause graininess or choppy playback. Sometimes, the problem is not with your video player but its improperly configured settings, which prevent you from accessing or playing video files.
Outdated/Incorrect Graphics Driver
Graphics drivers control how video content is processed and displayed on your PC. If the graphics driver installed on your PC is outdated or corrupt, you may experience grainy visuals and playback issues.
Hardware Limitations
Older or less powerful PCs might struggle to decode high-resolution videos smoothly, causing grain or stuttering during playback.
How to Fix Grainy Videos on PC? [Quick Methods]
Now that you’ve identified the causes of your grainy videos, let’s explore different methods to fix them. The exact method to repair your grainy videos depends on the source of the issue. Here are some easy and quick fixes that you can try to repair video on PC:
Method 01: Check Video Resolution
Video resolutions describe the number of pixels displayed in the video. The more pixels, the clearer and sharper the video appears. If your video is of low resolution, it may make your video look grainy. You can follow the below steps to check your video resolution:
- Right-click on your video file, select Properties.
- Go to the Details tab and locate Frame width and Frame height.
- If the resolution is low, you can improve its clarity by downloading or recording it in a higher resolution, such as 1080p (1920×1080) or 4K (3840×2160).
Method 02: Update Graphics Drivers
An outdated or corrupted graphics driver on your PC can result in improper video rendering, causing graininess or playback lag. If the graphics driver seems outdated, follow the below steps to update it:
- Press the Windows + X keys, select Device Manager from the menu.
- Expand Display Adapters, right-click your graphics card, and select the Update driver option.
- Choose Search automatically and go through the on-screen instructions till the drive is up-to-date.
Alternatively, you can download the latest driver from the manufacturer’s website (NVIDIA, AMD, Intel).
Method 03: Fix Grainy Videos with Adobe After Effects
Adobe provides a built-in After Effects plugin that helps you improve your video quality. You can use the “Remove Grain” effect of the Adobe After Effects features to easily eliminate pixelation and grain caused by factors such as low light or high ISO settings during recording. All you have to do is:
- Firstly, download and install After Effects from the official website of Adobe.
- Import the grainy/pixelated video you want to repair and drag it to the timeline.
- Go to the Effects & Preset panel, search for the “Remove Grain” effect, and drag the effect to the area which appears grainy.
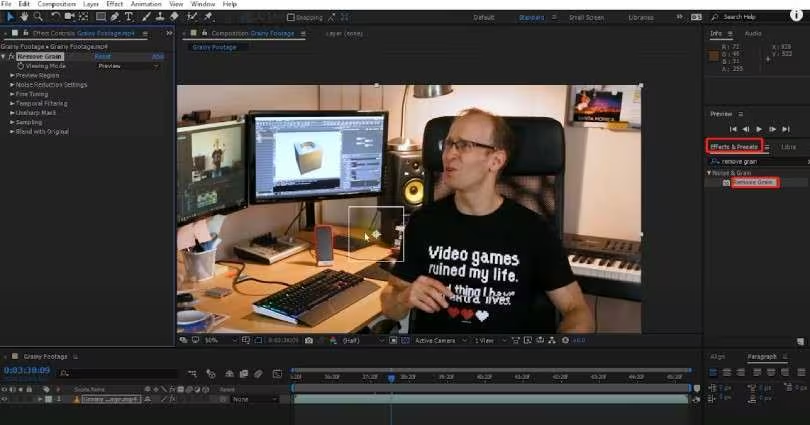
- Select the Noise Reduction settings and adjust the sliders gradually until the grain is minimised.
- After that, change the settings from “Preview” to “Final Output” to apply the effect to the entire video frame.
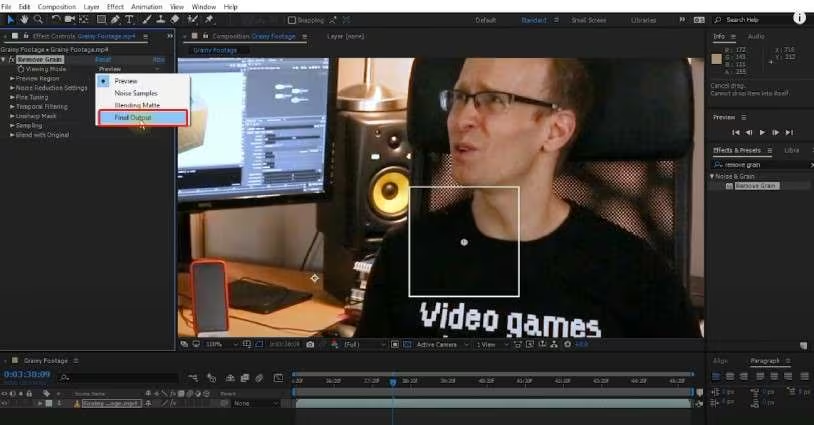
- Once done, export the repaired video to a safe location on your PC.
Method 04: Use Third-Party Video Repair Software
If you are not proficient in video editing or the above-mentioned video repair fixes seem complex, just go with a professional video repair tool. There are several third-party video repair software tools available online which allow you to repair corrupt, damaged, grainy, or pixelated videos in a few simple clicks. Stellar Repair for Video is a popular video repair tool which you can use to fix grainy/choppy videos of multiple file formats in three simple steps.
The all-in-one Stellar Repair for Video tool supports the repair of videos of numerous formats, such as AVI, MP4, MOV, WEBM, and many more. Whether the graininess is caused by recording issues, editing errors, or file corruption, this tool can significantly improve the playback quality.
Key Features of Stellar Repair for Video Tool:
- The software offers a simple video repair interface that you can use to repair corrupt/damaged videos in a few clicks.
- Supports repairing of videos saved on multiple internal or external storage devices, including SD cards, SSDs, USB drives, etc.
- Available for both Windows and macOS systems, making it accessible to a wide range of users.
- It is 100% a safe and secure tool, which keeps your original file preserved.
Follow the below steps to repair your grainy videos using the Stellar Repair for Video tool:
Step 1: Firstly, download and install the Stellar Repair for Video tool from the official website on your PC or Mac.
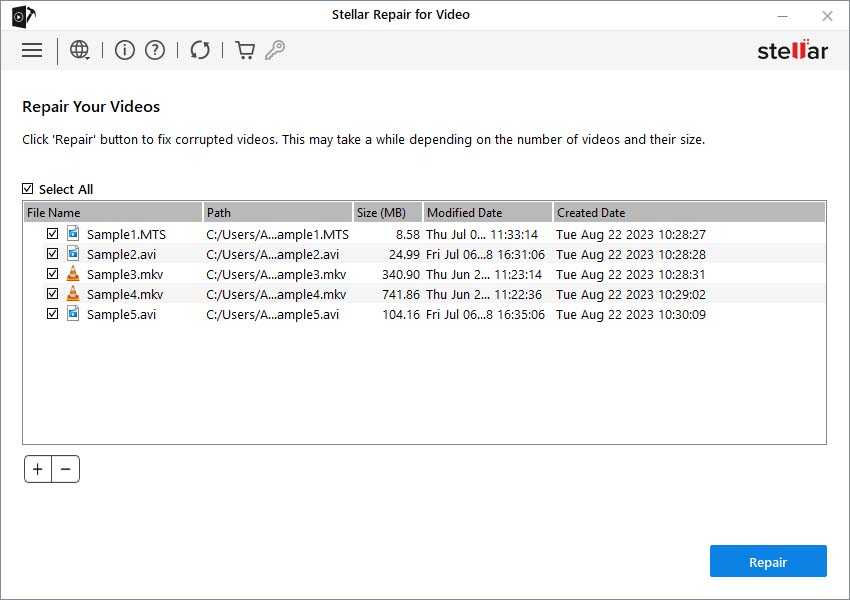
Step 2: Launch the software and click on the Add Videos button to upload the grainy video files that you need to repair.
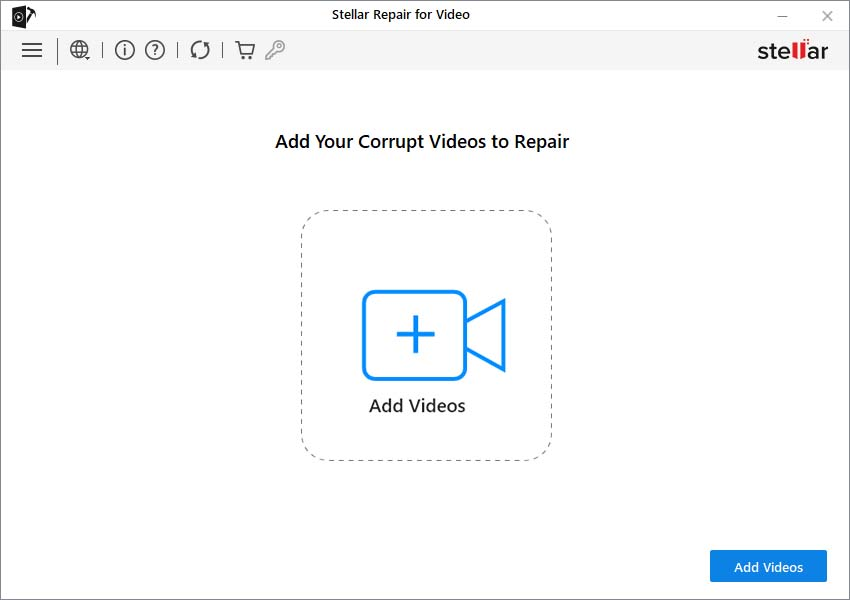
Step 3: After uploading the files, click Repair to initiate the repair process of the corrupted frames, noise, and grainy artefacts.
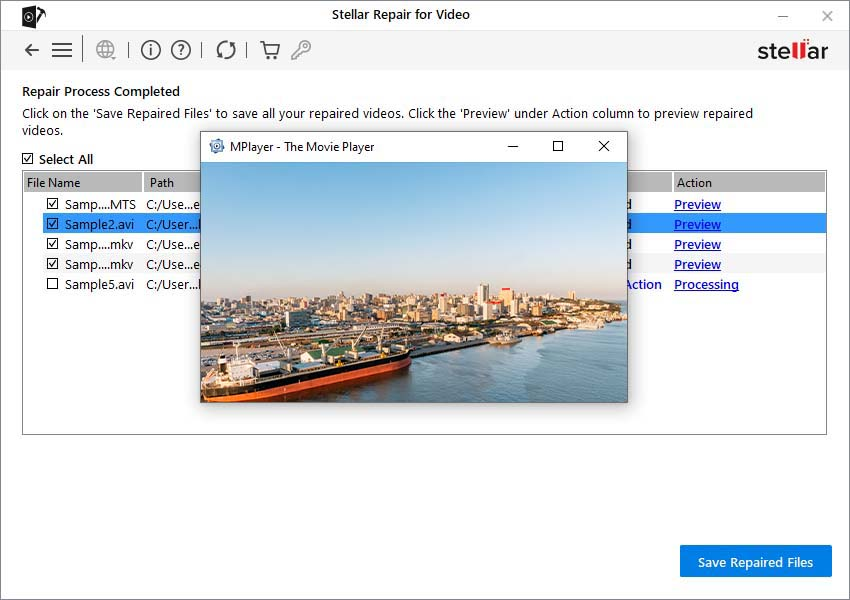
Step 4: Once the repair is complete, click on Preview to check the repaired video files. If satisfied with the result, click Save Repaired File to save the repaired videos at a safe location on your device.
Preventive Tips to Avoid Grainy Videos
Now that you are familiar with the reasons for your grainy videos and the appropriate video repair fixes to repair them, it’s time to check some additional preventive tips to avoid graininess:
- Record Videos in Good Lighting: Always record in well-lit environments. While shooting indoors, use soft, diffused lighting sources like ring lights or LED panels to avoid harsh shadows and excessive noise.
- Adjust ISO Sensitivity Carefully: Use the lowest ISO setting that still allows proper exposure, and supplement with lighting if needed.
- Avoid Over-Compression: Use codecs like H.264 or H.265 that offer good compression without severely degrading quality.
- Use a Tripod or Stabiliser: Shaky footage may cause blur and increase noise while capturing videos. You can use a tripod or a stabiliser for steady shots, which reduces the need to adjust contrast or brightness later.
Conclusion
There are several reasons, ranging from poor resolution and low bitrate to playback issues, outdated drivers, etc., why your video files appear grainy. The good news is that multiple video repair fixes are available online that you can try to repair your grainy videos on PC. Before starting any video repair fixes to repair your grainy videos, try to identify the exact cause of it. Moreover, consider the aforementioned preventive measures like recording in good lighting, adjusting ISO settings, keeping the device stabilised while recording, etc., to avoid grainy videos in the future.
Read More Gorod