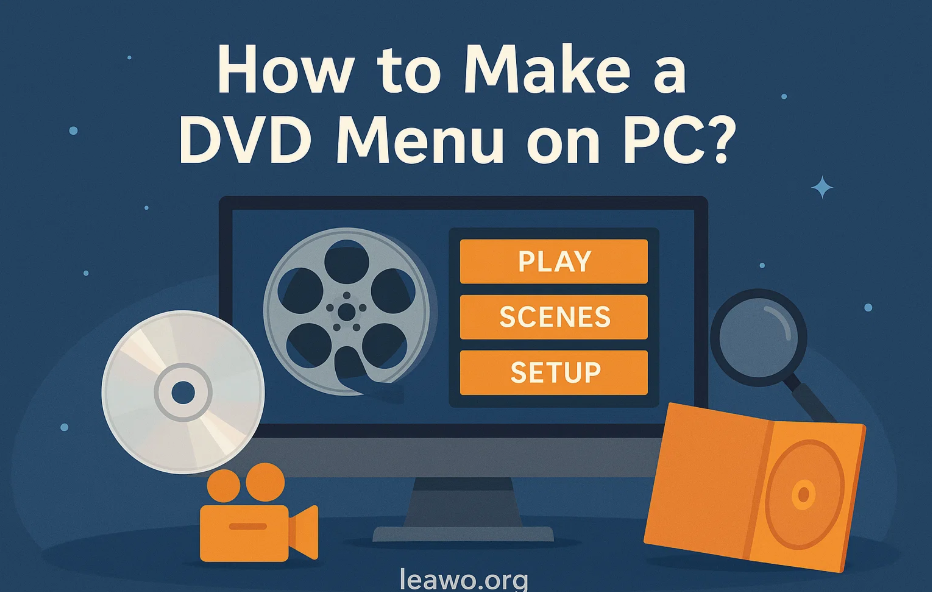
Creating a DVD menu transforms a simple disc into a professional product. A well-designed menu helps viewers navigate your content easily. Whether you’re preserving family memories or creating professional presentations, knowing how to make a DVD menu is essential. This guide walks you through every step of the process.
In this article, you’ll learn:
- Key components that make up a DVD menu
- Step-by-step instructions for creating menus
- Professional tips for better results
- Solutions to common DVD menu problems
Key Components of a DVD Menu
Every DVD menu consists of several important elements. Understanding these components helps you create better menus.
Background
The background sets the visual tone for your menu. You can use a still image or a video clip. Static images work well for simple projects. Video backgrounds add motion and interest. Choose backgrounds that match your content’s theme.
Buttons and Navigation Options
Buttons let viewers control the DVD. The most common buttons are Play, Scene Selection, and Setup. Each button needs clear labeling. Viewers should understand what each button does immediately. Good button design prevents confusion.
Chapters or Scene Selections
Chapters divide your content into sections. Scene selection menus let viewers jump to specific parts. This feature is especially useful for long videos. Weddings, concerts, and tutorials benefit from chapter markers. Well-placed chapters improve the viewing experience.
Text Styling and Music Integration
Text should be readable on all screens. Choose fonts that are clear and simple. Avoid fancy fonts that are hard to read. Background music adds atmosphere to your menu. Keep music volume moderate. Music should enhance, not overpower the menu.
How to Create a DVD Menu: A Step-by-Step Guide
Before you start, gather your materials. You’ll need video files in a supported format. MP4, AVI, and MOV files work well. You also need a blank DVD disc. Besides, creating a DVD menu requires the right DVD authoring software, so make sure your PC has a DVD burner.
Leawo Blu-ray Creator is an excellent choice for beginners and professionals. This tool offers powerful features with an easy interface. Install Leawo Blu-ray Creator on your computer.
Step 1: Launch the Software
Open Leawo Blu-ray Creator on your PC. Click on the “Burn” tab. This opens the DVD creation interface. The program interface is clean and intuitive.
Step 2: Add Your Video Files
Click “Add Video” to import your files. You can add multiple videos at once. The software supports various video formats. Your videos appear in the project list. You can rearrange them by dragging.
Step 3: Choose a Menu Template
Click the menu design icon. This opens the template gallery. Leawo Blu-ray Creator offers dozens of templates. Templates include themes for weddings, birthdays, holidays, and more. Browse through the options. Click on a template to preview it.
Step 4: Customize Your Menu
After selecting a template, click “Edit” to customize. You can change the background image or video. Replace the default music with your own audio. Edit button text to match your content. Adjust text position and size. Change colors to fit your style.
Step 5: Add Chapters
Right-click on your video in the project list. Select “Edit” from the menu. Click the “Chapter” tab. You can add chapters automatically or manually. Automatic chapters divide the video by time. Manual chapters let you choose exact points. Name each chapter clearly.
Step 6: Preview Your Menu
Click the “Preview” button before burning. This shows how your menu will look. Test all buttons and navigation. Make sure chapters work correctly. Preview helps catch errors early. Make any needed adjustments.
Step 7: Burn to DVD
Insert a blank DVD into your drive. Click the green “Burn” button. Choose your DVD burner from the dropdown. Select burning speed (slower speeds are more reliable). Click “Burn” to start the process. Wait for the burning to complete.
Pro Tips for a Professional-Looking DVD Menu
These tips help you create polished, professional menus.
Keep It Simple
Simple menus work best. Don’t overcrowd the screen with buttons. Use clean layouts with plenty of space. Three to five main buttons are enough. Too many options confuse viewers. Simplicity looks professional.
Mind the Safe Zones
Older TVs may cut off the edges of the menu. Keep important elements in the center area. This zone is called the “safe zone.” Place buttons and text away from edges. Leave at least 10% margin on all sides. This ensures everything remains visible.
Menu’s Visual Style Consistency
Use consistent colors throughout your menu. Stick to two or three main colors. Use the same font style for all text. Button styles should match each other. Consistency creates a cohesive look. Your DVD appears more professional.
Test Thoroughly
Always test your DVD before mass production. Check it on different DVD players. Try both newer and older models. Test on different TV sizes. Make sure all buttons respond correctly. Verify that chapters play from the right spots. Testing prevents disappointment later.
Frequently Asked Questions
Why doesn’t my menu appear when I play the DVD?
This usually happens when the disc format is wrong. Make sure you’re creating a DVD-Video format, not a data disc. Check your burning software settings. Some players are picky about disc brands. Try a different DVD brand if problems persist.
Why don’t my buttons work or lead to the wrong chapter?
Button linking errors cause this problem. Go back to your authoring software. Check each button’s link settings. Make sure buttons point to correct chapters. Re-preview the menu before burning. Sometimes re-burning the disc fixes the issue.
Why doesn’t my burned DVD play on my home DVD player?
Compatibility issues are common. First, check if you finalized the disc. Unfinalized discs won’t play on standard players. Verify your disc type matches your player. Some older players only read DVD-R discs. DVD+R may not work. Check your player’s manual for supported formats.
Can I add subtitles to my DVD menu?
Subtitles are added to the video content, not the menu itself. Most DVD authoring software lets you add subtitle tracks. You can create multiple subtitle options. Viewers select subtitles from the DVD menu options.
How long does it take to burn a DVD with a menu?
Burning time depends on several factors. Video length affects burning time. A one-hour video takes 15-30 minutes typically. Slower burning speeds take longer but are more reliable. Complex menus don’t significantly increase burning time.
Can I create animated DVD menus?
Yes, most DVD authoring software supports motion menus. You can use video clips as backgrounds. Buttons can include animation effects. Keep animations subtle for best results. Too much motion can be distracting.
Conclusion
Creating a DVD menu on PC is straightforward with the right tools. Leawo Blu-ray Creator simplifies the entire process. You can create professional-looking menus in minutes.
Remember to keep your designs simple and consistent. Test your DVDs thoroughly before distribution. Pay attention to safe zones for older TVs. With practice, you’ll create impressive DVD menus quickly.
Whether you’re making family videos or professional content, good DVD menus matter. They improve the viewing experience significantly. Start experimenting with different templates and styles. Soon you’ll develop your own unique menu design style.