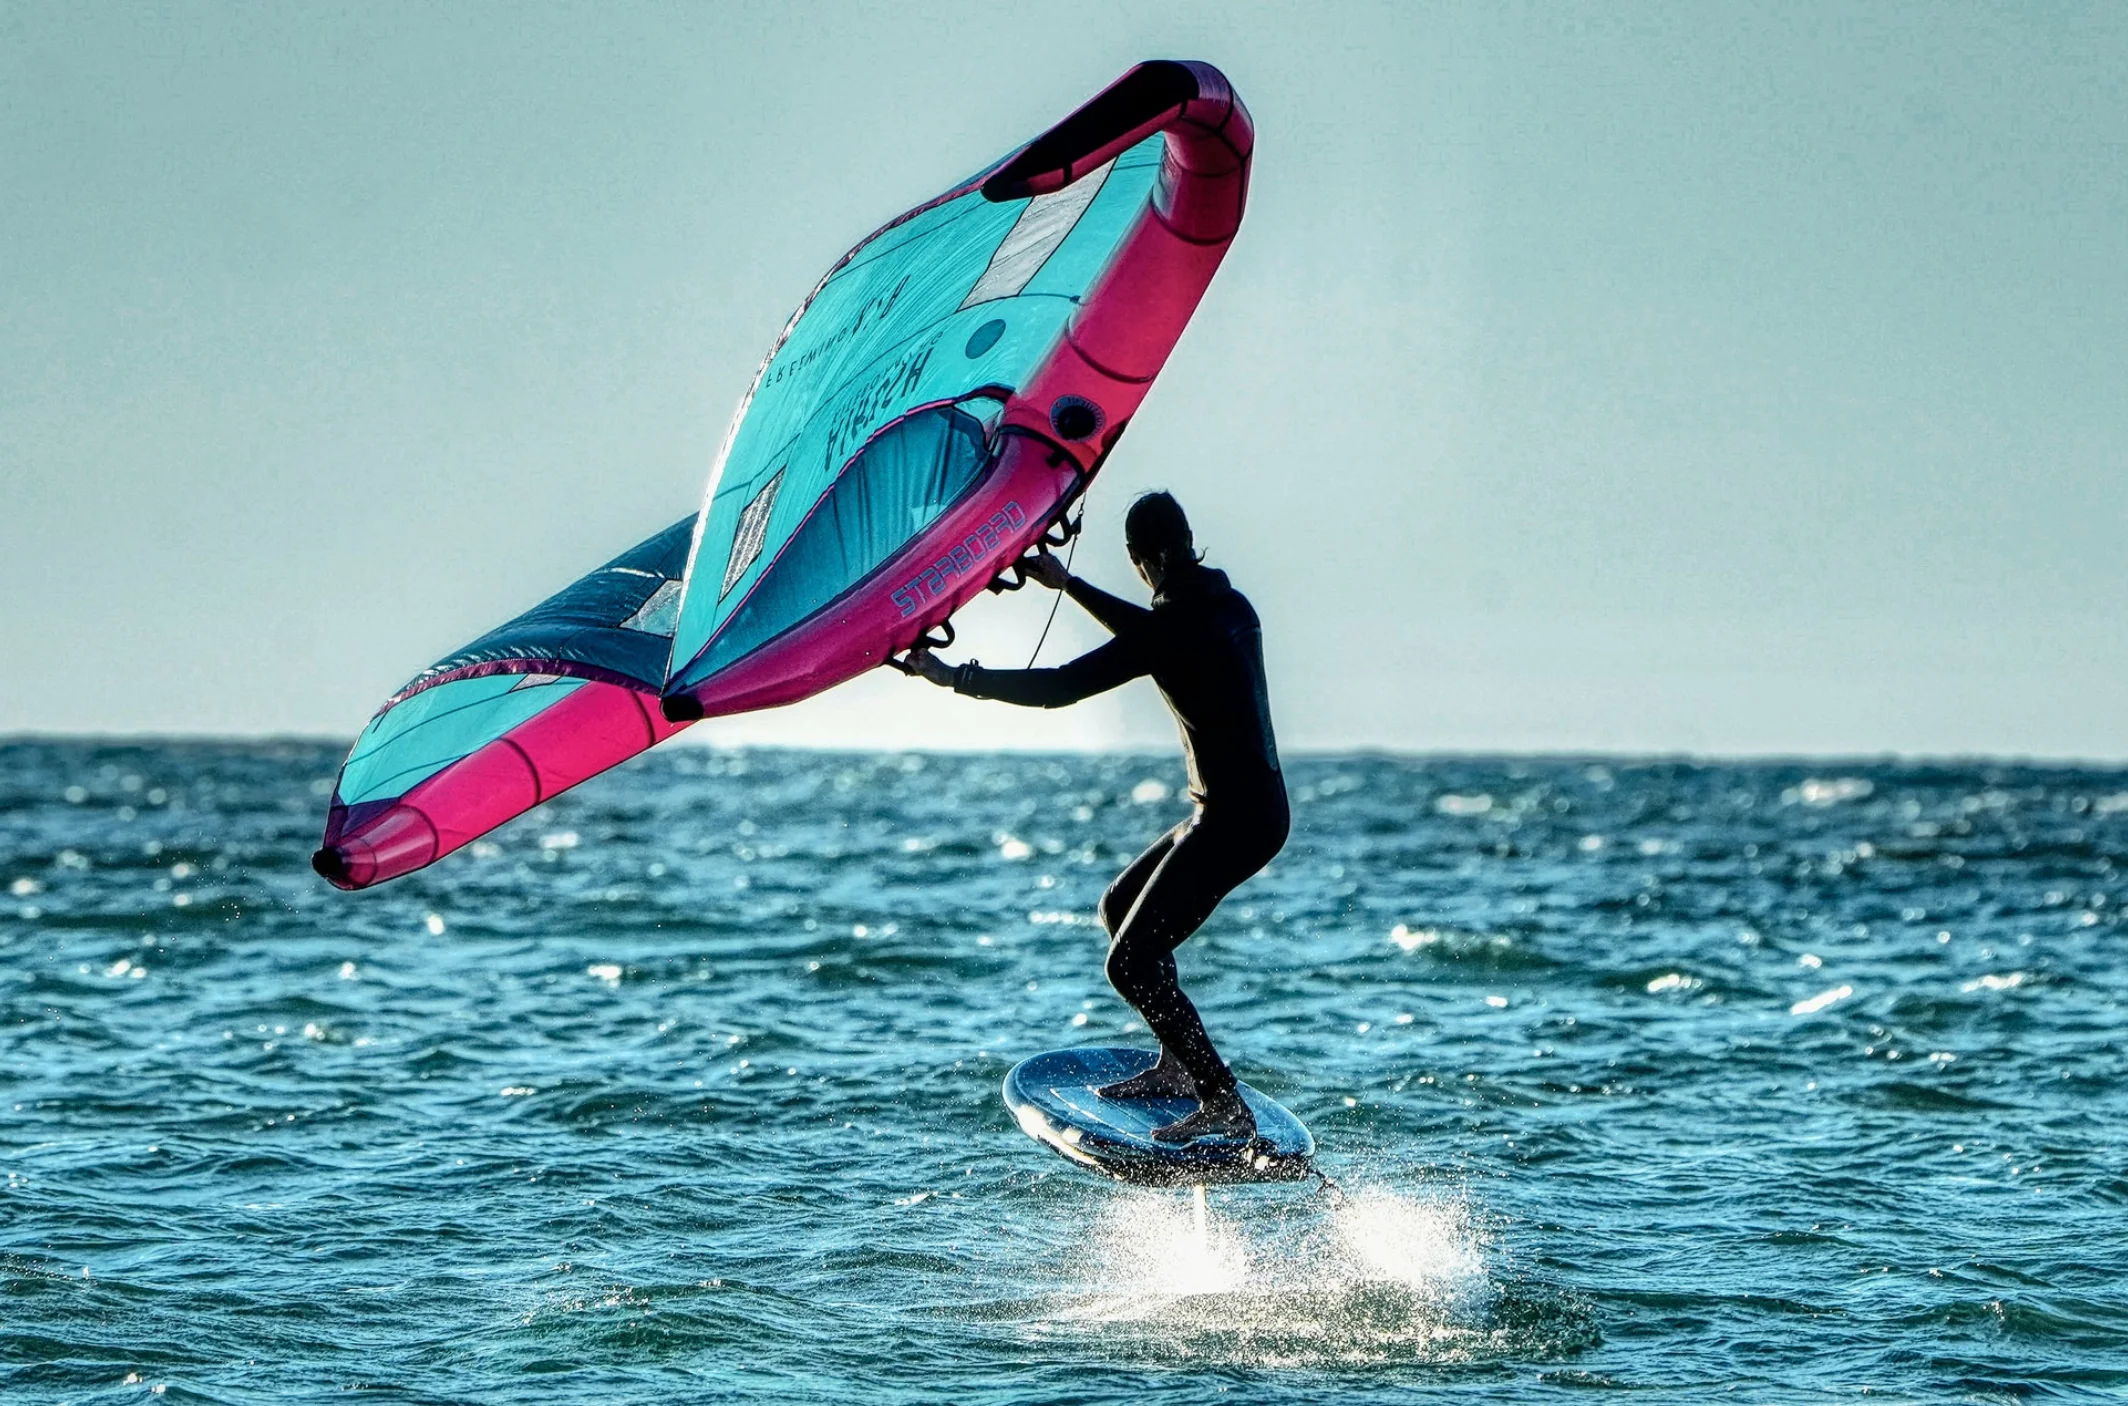
Have you seen people gliding over the water, holding an inflatable wing, and standing on a board that seems to fly? That exciting new water sport is wing foiling, and it’s taking the world by storm. It combines elements of windsurfing, kitesurfing, and foiling into one accessible and thrilling activity.
This guide will walk you through everything you need to know to get started with wing foil. We’ll cover what it is, the essential gear you’ll need, and the basic steps to get up and riding. By the end, you’ll understand what makes this sport so popular and how you can join in on the fun.
What Exactly is Wing Foiling?
Wing foiling, also known as wing surfing, is a surface water sport where the rider stands on a short board and holds a lightweight, inflatable wing. The wing is not attached to the board, giving you complete freedom of movement. As the wind fills the wing, it generates power, propelling you and the board forward.
The magic happens with the hydrofoil, or “foil,” which is a mast with a wing-like structure attached underneath the board. As you gain speed, the foil lifts the board completely out of the water. This allows you to glide effortlessly above the surface with minimal drag, creating a sensation of flying. It’s an incredibly quiet and smooth experience, letting you ride on both calm water and ocean swells.
The Essential Gear for Wing Foil
Getting started requires a few key pieces of equipment. Each component works together to give you a stable and enjoyable ride.
The Wing
The star of the show is the handheld inflatable wing. These wings are lightweight and come in various sizes, measured in square meters (m²). The right size depends on your body weight and the wind conditions. Lighter winds require larger wings to generate enough power, while stronger winds are better suited for smaller wings. The wing has handles or a boom for you to hold onto, allowing you to control its angle to the wind and manage your power and speed.
The Board
Wing foil boards are specifically designed for the sport. They are generally shorter and thicker than traditional surfboards or paddleboards, which provides the stability needed for getting started. Board volume, measured in liters, is a crucial factor. Beginners should choose a board with a volume that is roughly 30-40 liters greater than their body weight in kilograms. For example, an 80kg rider would feel comfortable starting on a board around 110-120 liters. This extra volume provides the buoyancy and stability needed to stand and get going. As you progress, you can move to a smaller, lower-volume board for more maneuverability.
The Hydrofoil
The hydrofoil is what allows you to “fly” over the water. It consists of several parts:
- Mast: This is the vertical part that connects the board to the rest of the foil. Masts come in different lengths. Shorter masts are more stable and easier to learn on, while longer masts offer more clearance above choppy water and are preferred by advanced riders.
- Fuselage: This piece connects the mast to the front and rear wings.
- Front Wing: This is the largest wing and generates most of the lift. Larger front wings provide more lift at lower speeds, making them ideal for beginners and light wind conditions.
- Rear Wing (Stabilizer): This smaller wing provides stability and balance during flight.
Getting Started: Your First Wing Foil Session
Learning to wing foil is a step-by-step process. It’s often best to break it down and practice each skill separately before putting them all together.
1. Learn to Handle the Wing
Your first step should be learning how to control the wing on land. Find an open, windy area like a beach or a large field.
- Inflate the Wing: Pump up your wing according to the manufacturer’s recommended pressure.
- Position Yourself: Stand with your back to the wind. Hold the wing by the front handle and let it flag downwind.
- Generate Power: Grab the main handles and pull the wing overhead. Practice “sheeting in”—pulling the wing in with your back hand—to feel the power. Sheet out by extending your back arm to release power. Get a feel for how the wing reacts to the wind from different angles.
2. Get Comfortable on the Board
Once you are confident with the wing, it’s time to get on the water with the board. You can even practice this without the wing at first.
- Knee Starting: Start by kneeling on the board. This lower center of gravity makes it easier to balance. Position your knees on either side of the board’s centerline.
- Adding the Wing: Now, try handling the wing while kneeling on the board. Keep the wing high and let it fly neutrally at first. Practice generating a small amount of power to start moving across the water without trying to get on the foil.
3. The First Flight
When you feel stable on your knees and can control the wing, you’re ready to try standing up and flying.
- Standing Up: From a kneeling position, generate some forward momentum. Bring your front foot onto the board’s centerline, followed by your back foot. Stay low and centered.
- Gaining Speed: Once standing, generate more power with the wing. As your speed increases, the foil will start to lift. Keep your weight centered and balanced over the board.
- Controlling the Foil: To manage your flight, use your body weight. Apply gentle pressure on your front foot to keep the board level or bring it down. Shift your weight slightly back to rise higher on the foil. Small, subtle movements are key.
Your Path to Wing Foil Mastery
Wing foiling is an exciting sport that offers a unique feeling of freedom and connection with the elements. While the initial learning curve can be challenging, the reward of gliding silently over the water is well worth the effort. By starting with the basics, choosing the right gear, and progressing at your own pace, you’ll be flying in no time.
Ready to take the plunge? Find a local school or experienced instructor to guide you through your first sessions safely. They can provide valuable tips and ensure you have the right equipment for the conditions, making your learning experience smooth and enjoyable.
Read More gorod