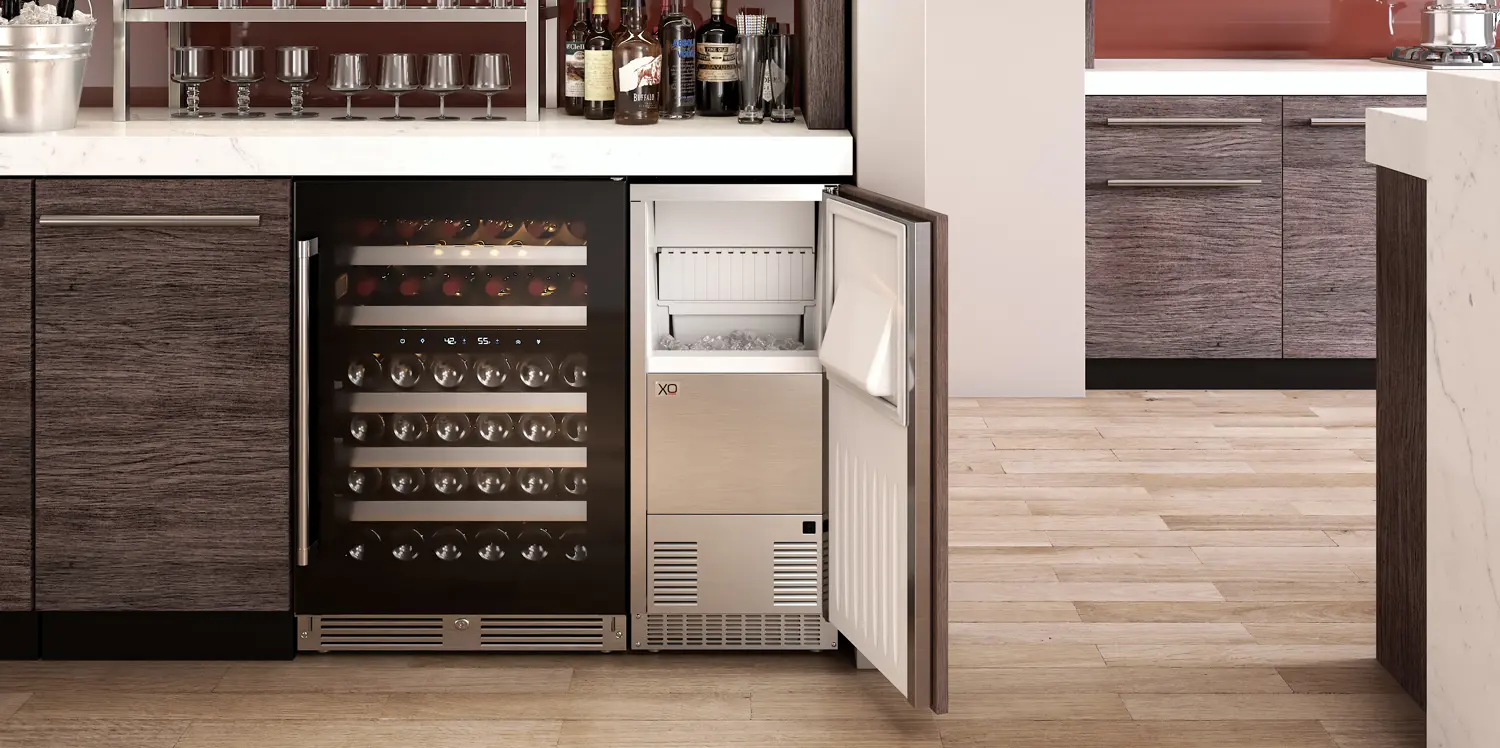
Your under counter bar ice maker is the unsung hero of home entertainment. Whether you’re mixing cocktails for friends or keeping beverages perfectly chilled during a backyard gathering, a steady supply of fresh ice makes everything run smoothly. But here’s a question worth asking: has your machine been producing ice as quickly and clearly as it did when you first installed it? If you’ve noticed slower cycles, cloudy cubes, or a subtle off-taste, there’s likely a silent culprit at work—hard water scale buildup. This mineral accumulation gradually chokes your machine’s internal components, dragging down efficiency and quietly shortening its lifespan. The good news? You don’t need a technician or expensive service contracts to fight back. This article delivers straightforward, actionable maintenance strategies that will keep your ice production running at peak performance while significantly extending your appliance’s durability. With just a little regular attention, you can protect your investment and ensure crystal-clear ice flows freely for every occasion. The process is simpler and more cost-effective than you might think.
Understanding the Enemy: Hard Water Scale Buildup
Hard water scale is essentially a crusty layer of mineral deposits—primarily calcium and magnesium—that accumulates on surfaces exposed to water over time. Every time water flows through your under counter ice maker, it leaves behind trace amounts of these dissolved minerals. As water evaporates or freezes on the evaporator plate, the minerals have nowhere to go. They crystallize and bond to metal surfaces, gradually forming a chalky white or yellowish coating that becomes increasingly difficult to remove the longer it’s ignored.
Inside your ice maker, scale targets the most critical components first. The evaporator plate, where water actually transforms into ice, bears the brunt of the damage. As scale insulates this plate, the refrigeration system must work harder and longer to freeze each batch. Water lines narrow as deposits accumulate along their interior walls, restricting flow and causing uneven water distribution across the freezing surface. The result is a cascade of performance problems that worsen over time.
The practical consequences hit you in multiple ways. Ice production cycles stretch from their normal duration into noticeably longer waits. Cubes may come out smaller, misshapen, or cloudy because minerals are literally trapped inside them, sometimes imparting a metallic or stale taste to drinks. Your machine’s compressor runs longer and more frequently to compensate for the insulating effect of scale, driving up energy consumption on your utility bill. Perhaps most concerning is the mechanical toll—a compressor under constant strain wears out faster, water valves stick or fail, and sensors misread conditions. What begins as a thin film of minerals eventually translates into repair bills or premature replacement of an appliance that should have lasted years longer with proper attention.
Your Essential Under Counter Ice Maker Maintenance Routine
Regular maintenance isn’t just a recommendation—it’s the single most effective strategy for combating scale and keeping your machine running like new. Think of it as three layers of defense, each building on the last, that together create a comprehensive protection plan for your investment.
Step 1: The Weekly & Monthly Quick-Check
A brief weekly inspection catches small problems before they become expensive ones. Start by listening—unusual humming, clicking, or grinding sounds often signal early trouble. Check around the base and connections for any signs of water leaking, which can indicate a loose fitting or failing seal. Wipe down the exterior with a damp cloth, paying special attention to air vents and condenser grilles where dust accumulates and restricts airflow. Once a month, remove and rinse the air filter if your model has one, since a clogged filter forces the condenser to work overtime. Finally, confirm that nothing has been pushed against the unit’s sides or back; your ice maker needs at least three inches of clearance on all ventilated sides to dissipate heat properly. These quick checks take under five minutes but dramatically reduce the chance of unexpected breakdowns.
Step 2: The Deep Clean and Descaling Process
Every three to six months—or more frequently if you live in a hard water area—your ice maker needs a thorough internal descaling. This process dissolves accumulated mineral deposits and restores full contact between water and the evaporator plate, directly improving freezing efficiency.
Begin by turning off the machine and unplugging it from the power source. Remove all ice from the bin and discard it, then pull out the ice bin and wash it with warm, soapy water. Set it aside to air dry completely.
Next, prepare your descaling solution. A commercial ice maker cleaner formulated with food-safe acids works best, but a mixture of one part white vinegar to one part water serves as an effective alternative for lighter buildup. Pour the solution into the water reservoir according to your machine’s capacity—typically around 16 to 20 ounces of mixed solution.
Plug the unit back in and initiate a cleaning cycle if your model offers one, or simply run a normal ice-making cycle with the descaling solution circulating through the system. Allow the solution to run for approximately 20 minutes so it contacts all internal water pathways, the pump, distribution tubes, and the evaporator surface. After the cycle completes, drain the solution completely through the drain plug.
Now comes the critical rinsing phase. Refill the reservoir with fresh, clean water and run at least two full rinse cycles, discarding all water and any ice produced during this stage. Residual cleaning solution can affect ice taste and potentially irritate sensitive stomachs, so don’t shortcut this step. Once rinsing is complete, wipe accessible interior surfaces with a clean cloth, reassemble the bin, and restart normal operation. Your first batch of fresh ice should appear noticeably clearer.
Step 3: Proactive Water Filtration
While descaling removes existing buildup, a quality water filter prevents minerals from reaching your machine in the first place—making it the most effective long-term defense against scale. An inline water filter installed on the supply line feeding your ice maker physically traps calcium, magnesium, and sediment particles before they ever enter the system. This means less mineral content freezing onto your evaporator plate, fewer descaling sessions needed, and consistently better-tasting ice.
When selecting a filter, look for models specifically designed for ice makers and refrigerators, rated to reduce hardness minerals along with chlorine and particulates. Installation is straightforward: cut into your existing water supply line, attach the filter housing with the included compression fittings, and flush the new filter with two gallons of water before reconnecting to the machine. Most inline filters need replacement every six months or after filtering approximately 750 gallons, though harder water may shorten this interval. Mark your calendar or set a phone reminder—a spent filter provides zero protection and can actually restrict water flow if left too long.
Maximizing Durability for Long-Term Performance
Consistent maintenance does more than keep ice flowing—it directly extends the operational life of your under counter bar ice maker by years. Every time you remove scale before it hardens, you’re sparing the compressor from the extra strain of pushing refrigerant through an insulated evaporator. A compressor running within its designed parameters generates less heat, experiences less wear on its internal components, and maintains efficient cooling capacity throughout its rated lifespan. The same principle applies to water valves, pumps, and sensors that all function more reliably when mineral deposits aren’t interfering with their operation.
Where you place your machine matters just as much as how you maintain it. Position the unit away from ovens, dishwashers, and direct sunlight—ambient heat forces the condenser to work harder to reject warmth from the refrigeration cycle. Ensure the surface is perfectly level so water distributes evenly across the evaporator plate, preventing uneven freezing and unnecessary mechanical stress. During heavy entertaining periods, resist the temptation to run the machine continuously without breaks; allowing short rest periods between high-demand cycles prevents the compressor from overheating. When any component eventually needs replacement, always source manufacturer-approved parts. Generic alternatives may fit physically but often lack the precise tolerances needed for optimal performance, potentially voiding warranties and introducing new failure points into an otherwise well-maintained system.
Optimizing for Peak Efficient Ice Production
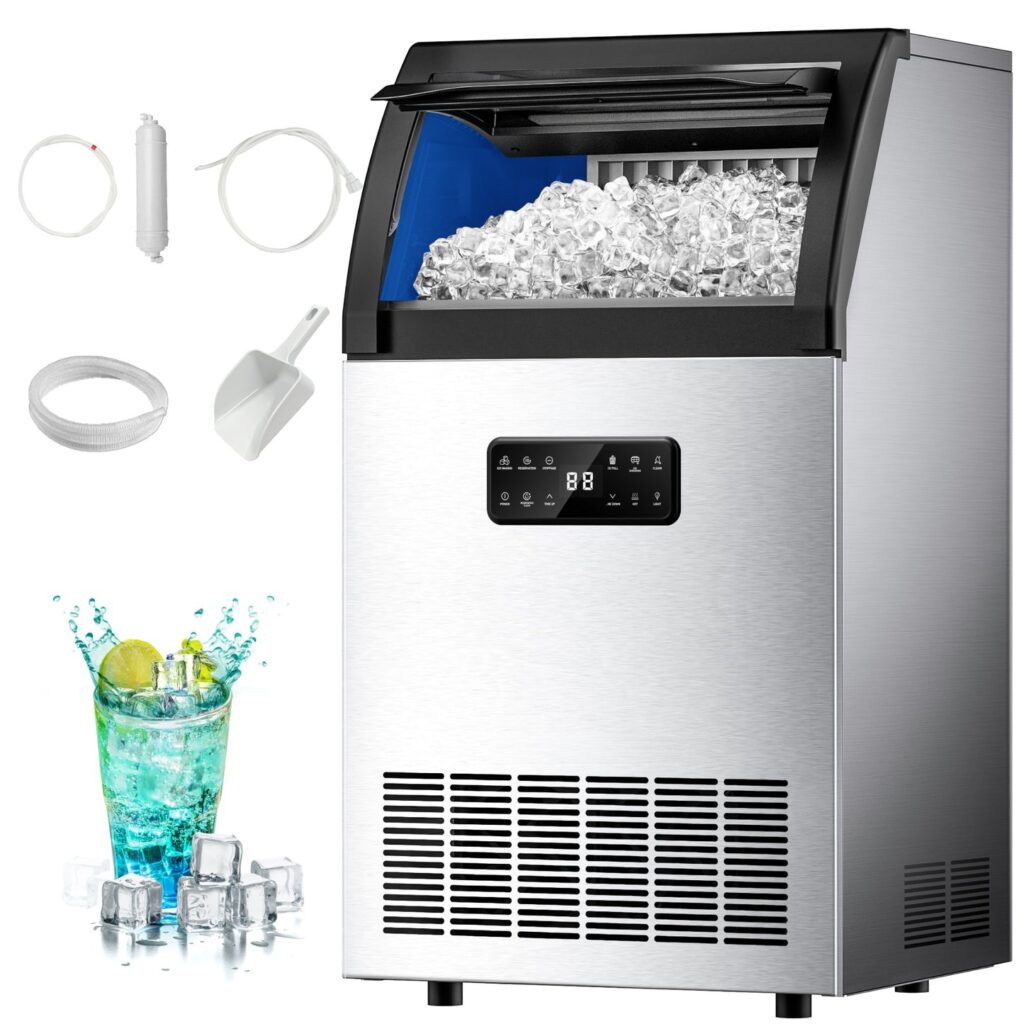
Efficient ice production means your machine completes freeze cycles quickly, produces uniformly sized cubes with crystal clarity, and does so without consuming excessive electricity. When your evaporator plate is free of scale and water flows unrestricted through clean lines, the system operates exactly as engineered—freezing water rapidly and releasing cubes cleanly without extended cycle times or wasted energy. Many popular under counter models from brands like Euhomy are designed with self-cleaning functions that simplify this process, but even with built-in features, manual descaling remains essential for thorough mineral removal.
Beyond keeping the system clean, you can fine-tune performance through a few deliberate adjustments. Check your thermostat settings and aim for the manufacturer’s recommended freezing temperature rather than cranking it to the coldest option. An overly aggressive setting doesn’t necessarily produce ice faster—it often creates brittle, cracked cubes while forcing the compressor into longer, harder runs. Additionally, never let ice accumulate past the bin’s fill line. An overfull bin traps warm air during the door-open period and can trigger the machine’s shutoff sensor erratically, interrupting production rhythms and causing inconsistent batch sizes.
Watch for telltale signs that efficiency is slipping: cycles that once took eight minutes now stretching past twelve, cubes appearing thinner on one side than the other, or the compressor running almost continuously without adequate rest periods. Each of these symptoms points back to either scale accumulation, a filter that needs replacing, or restricted airflow around the condenser. When you notice any decline, treat it as a prompt to revisit your maintenance routine rather than waiting for a complete breakdown. Addressing these signals immediately keeps your machine operating at its designed capacity and ensures every gathering has ice ready without delay.
Protect Your Ice Maker Investment with Simple, Consistent Care
Keeping your under counter bar ice maker running efficiently doesn’t require specialized skills or a significant time investment—it simply demands consistency. The strategy comes down to three straightforward pillars: understanding how hard water scale silently degrades your machine’s performance, committing to a regular cleaning and descaling routine that removes deposits before they cause real damage, and installing a quality water filter that stops minerals at the source. Together, these actions form a complete defense system that protects every critical component inside your appliance, from the evaporator plate to the compressor.
The payoff is substantial. You’ll avoid unexpected repair bills, reduce energy waste, and add years of reliable service to a machine that might otherwise fail prematurely. More importantly, you’ll always have crystal-clear, great-tasting ice ready the moment guests arrive. Start with your next weekly check this week, schedule your first descaling session on the calendar, and look into an inline filter if you haven’t installed one yet. These small, deliberate steps today translate into effortless entertaining and a perfectly performing ice maker for years to come. Your future self—and your guests—will thank you.